The Ultimate Guide to Using Clone-A-Willy: Step-by-Step Directions for a Personalized Experience
 The Ultimate Guide to Using Clone-A-Willy: Step-by-Step Directions for a Personalized Experience
Clone-A-Willy kits have become a popular choice for those looking to create a highly personalized and unique gift, or just a fun project to undertake solo or with a partner. These kits enable you to make a silicone replica of a penis, capturing every detail for a personal touch. This guide provides detailed instructions on how to use your Clone-A-Willy kit effectively, ensuring the best results.
What is a Clone-A-Willy Kit?
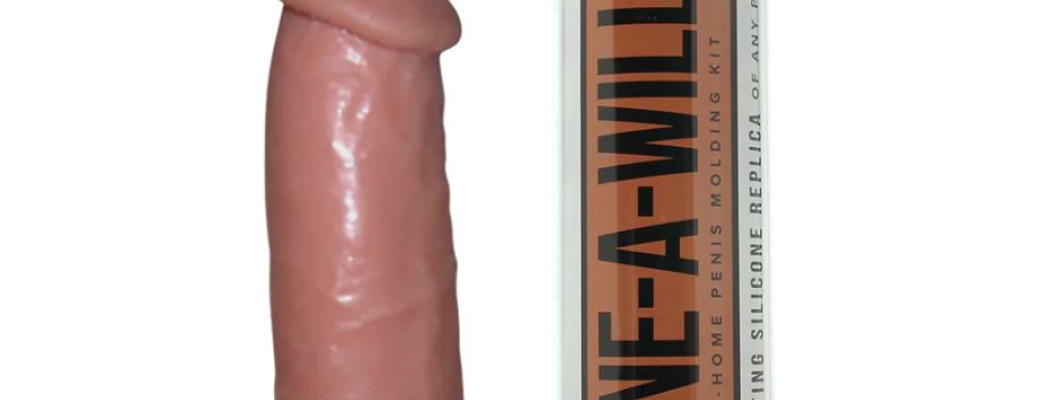
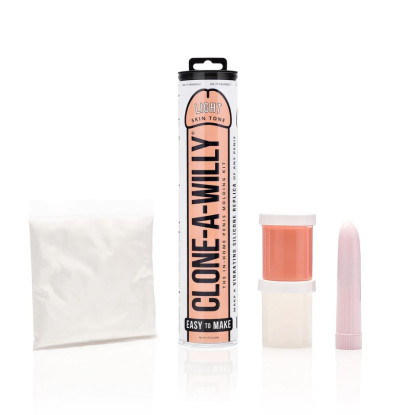
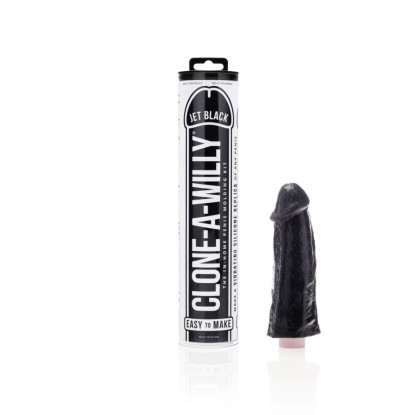
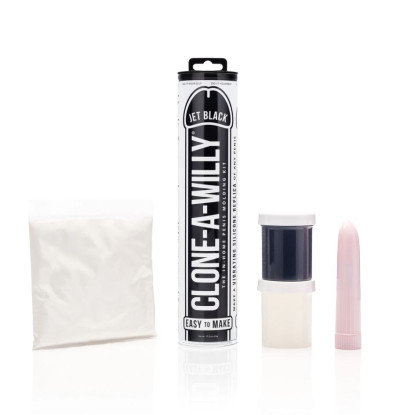
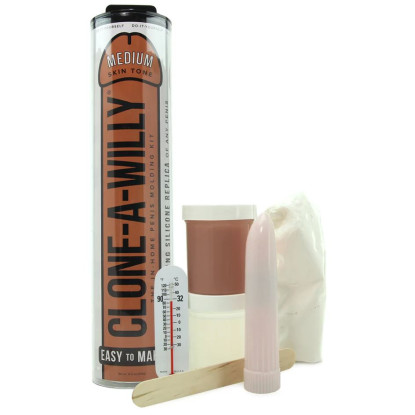
A Clone-A-Willy kit contains all the materials needed to create a precise silicone replica of a penis. The kits typically include a molding tube, molding gel, silicone mix, a stirring stick, and sometimes additional items like a vibrator that can be inserted into the mold to create a vibrating dildo.
Benefits of Using a Clone-A-Willy Kit
- Personalization: Offers a highly personalized experience, whether creating a keepsake or a gift.
- Fun and Creative: It’s a unique DIY project that can be a fun and intimate activity for couples.
- Safe and Body-Friendly: The materials used are typically body-safe and non-allergenic.
Step-by-Step Directions for Using Clone-A-Willy
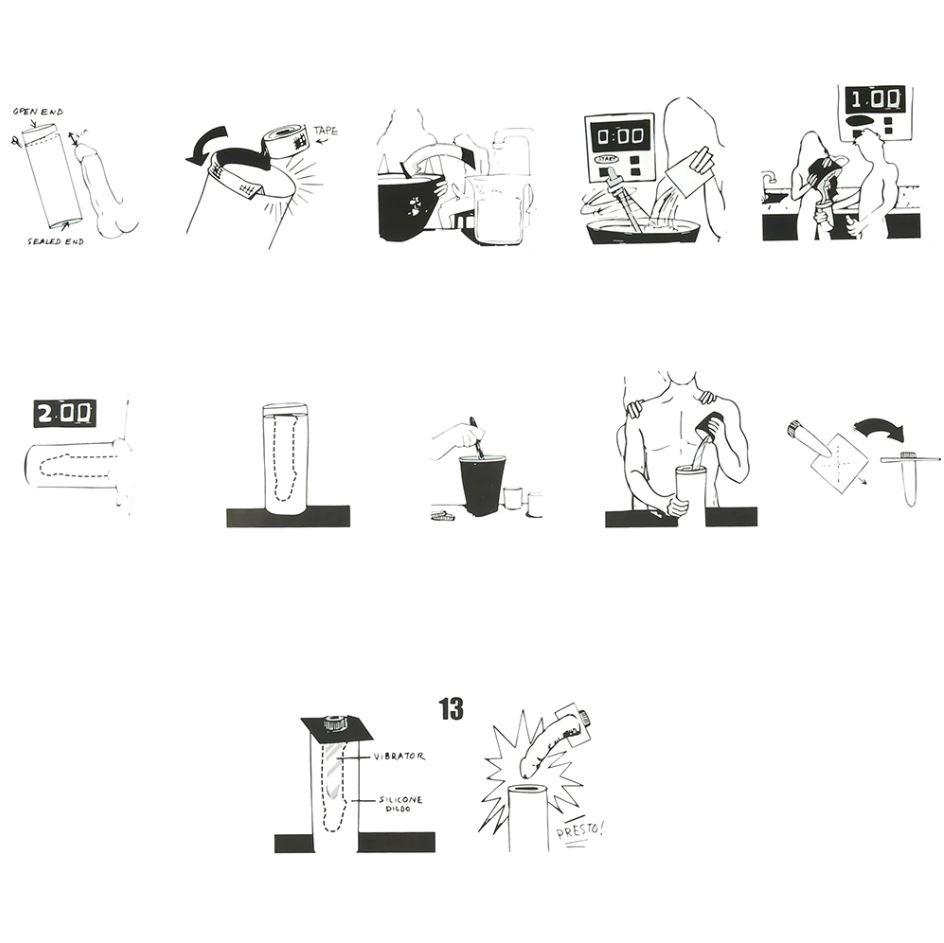
Step 1: Prepare the Materials
Before you begin, read through all the instructions provided in your kit. Lay out all the materials and ensure you have enough space to work comfortably. It’s important to work quickly once you start, so having everything ready is key.
Step 2: Mix the Molding Gel
- Heat water to 90-100 degrees Fahrenheit (as specified in the kit instructions).
- Pour the water into the molding tube until it reaches the fill line.
- Quickly add the molding gel powder and stir vigorously for about 45 seconds. The gel sets fast, so speed is crucial.
Step 3: Create the Mold
- Insert the penis into the tube. Ensure it stays centered and does not touch the sides, as this could affect the mold’s quality.
- Hold still for about two to three minutes, or until the molding gel has set.
Step 4: Remove and Prepare the Mold
- Carefully remove the penis from the tube. The mold should have captured all details.
- Cut away any excess material from the top of the mold to ensure an even surface.
Step 5: Mix the Silicone
- In a disposable container, mix the silicone according to the instructions. Usually, this involves combining a silicone base with a hardener and stirring thoroughly.
- Pour the silicone mix into the mold. Tap the sides of the tube to remove any air bubbles.
Step 6: Set and Release
- Let the silicone cure for at least 24 hours in a cool, dry place.
- Once set, carefully remove the silicone replica from the mold. Trim any excess silicone from the base or sides if necessary.
Step 7: Enjoy Your Creation
The silicone replica is now ready to use. If your kit included a vibrator, insert it according to the kit instructions before the silicone sets.
Tips for Success
- Temperature and Timing: Make sure the room temperature is not too cold, as this can affect how the materials set.
- Stay Relaxed: If creating a mold with a partner, ensure the person being cloned is relaxed and comfortable during the process to prevent any mishaps.
- Practice Makes Perfect: If you’re not satisfied with your first attempt, consider purchasing just the molding gel and silicone refills to try again without buying a new full kit.
Conclusion
Creating a Clone-A-Willy is a unique and entertaining project that can bring a personal touch to intimate moments. Following the detailed steps and preparing properly can lead to a successful and satisfying outcome. Whether for fun, as a gift, or to explore creativity, Clone-A-Willy offers an enjoyable experience with a highly personalized end product.





Leave a Comment